
In this article, we will learn how to upload (push) a project to GitHub.
If you have not installed Git yet, please install it first. For the tutorial, please check this link for the installation steps.
Creating a GitHub Repository#
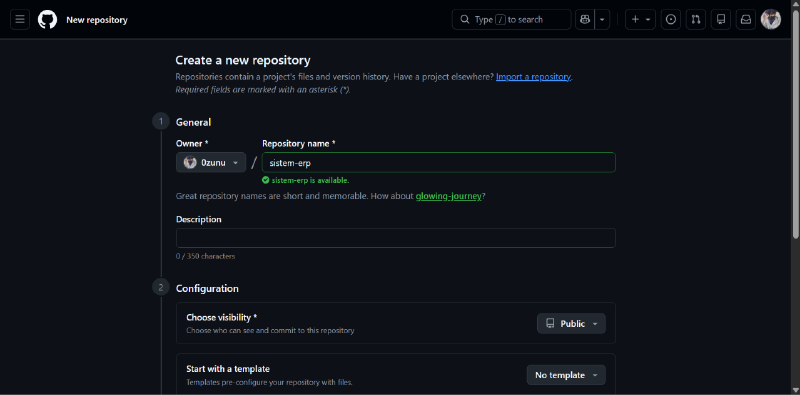
- Open GitHub, then go to the
Repositoriesmenu and click theNewbutton to create a new repository.
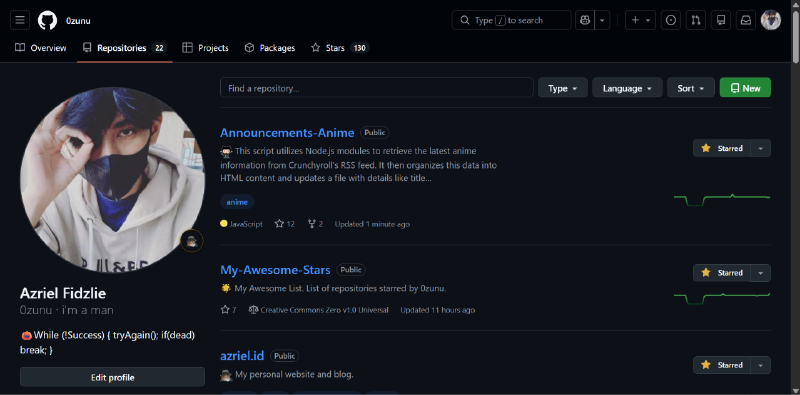
- Create a new repository name. For example,
sistem-erp. Then fill in the other sections if needed. Once done, click theCreate Repositorybutton.
Initializing Git (git init)#
We need to initialize Git locally.
Please open the project folder you want to initialize with Git. The example below is for initializing a CodeIgniter blog project.
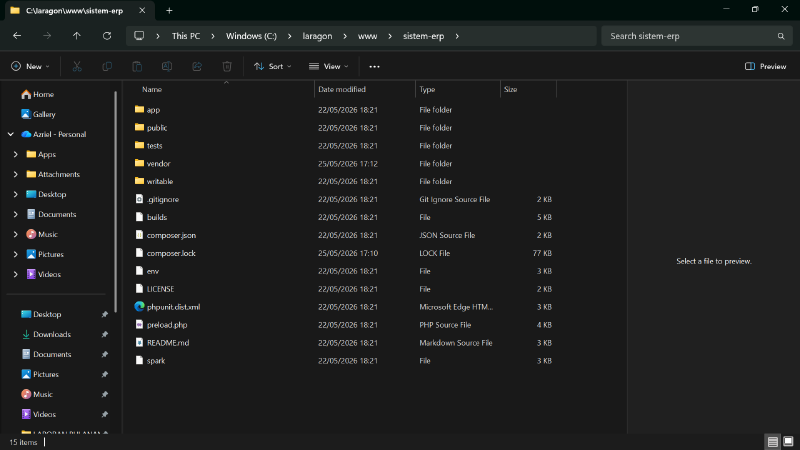
Open the terminal in that project:
Windows: right-click — choose
Git Bash HereLinux: right-click — choose
open terminal here. Alternatively, you can switch to the project directory using thecdcommand.
Initialize Git by running the command:
git init
Adding Changes to the Staging Area (git add)#
At this step, please work on the project, tasks, or any changes.
Once completed, we need to add the changes to the staging area.
We can add each change to the staging area and then commit each change separately (atomic commit). Or we can add all changes to the staging area and then commit them directly.
Open the terminal in the project, just like we did in the Git initialization step (see the previous section).
Let’s try adding all changes to the staging area:
git add .
The dot here means adding all changes to the staging area. The dot is similar to an asterisk. The asterisk means all files. It means we want to add all files to the staging area.
Saving Changes (git commit)#
After adding changes to the staging area, the final step is to save the changes. This is similar to putting items in a cabinet and then locking or closing it to store them.
If you are not continuing from the previous step, please open the terminal in the project folder. The steps are the same as in the Git initialization stage.
Save the changes:
git commit -m "commit message or change description"
In the commit message, please include a message that reflects the work done. For example, adding a login feature, creating a user data addition module, removing the update function, etc.
Adding a Remote Link (git remote)#
We have not yet connected the local project to the repository on GitHub.
We will add the repository link to the local project so that the local project and GitHub repository are connected.
Open the GitHub repository. Copy the repository URL (don’t forget to add .git at the end of the URL). Example: https://github.com/0zunu/sistem-erp.git
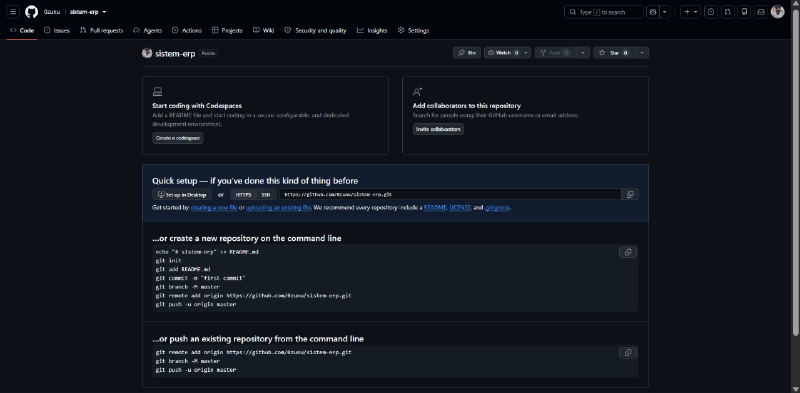
Add the remote link:
git remote add origin https://github.com/0zunu/sistem-erp.git
We are adding a remote named origin, and its link is https://github.com/0zunu/sistem-erp.git.
Sending Changes to the GitHub Repository (git push)#
The final step is to send (upload/push) the changes to the GitHub repository.
At this stage, we will send the project code from the local machine (laptop or computer) to the online repository on GitHub.
Send the changes to the GitHub repository:
git push origin main
We want to send the changes to origin (the remote name we created earlier) on the main branch (the main branch).
If there is an error because the branch is main, please push to the master branch instead:
git push origin master
Then refresh the GitHub repository, and the project from the local machine will be uploaded to GitHub.
Done, thank you.